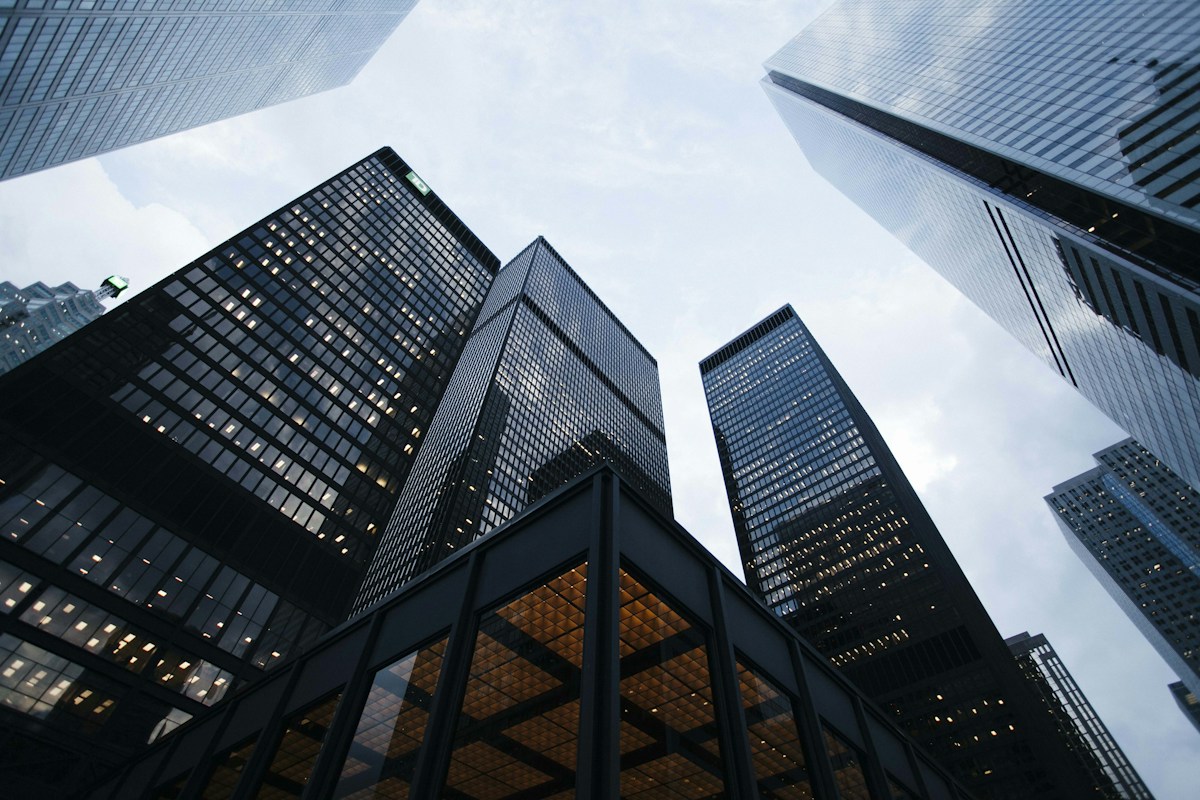
Prepare a small render, exterior photo or interior visualization for a presentation. The useful test is not only sharpness: straight lines, repeated windows and the original perspective must remain stable.
JPG, PNG and WebP · sign in before processing · 1 credit per task
Illustrative architecture case: compare the straight edges, window spacing and materials before using the image in a client presentation.
When this workflow helps
Interior design presentations
Real-estate listing photos
Architectural concept boards
Small exterior renders
The result is an AI reconstruction. Keep the original file and inspect information-sensitive details before using the image commercially.
How to use it
Upload the source render — Use the original render or camera export. A screenshot of a compressed chat preview gives the model less reliable structure.
Set the target scale — Choose 2× or 4× in the image upscaler. The studio shows the actual output size before the task starts.
Audit geometry — Check window frames, roof lines, railings, repeating facades and perspective at 100% before delivery.
Frequently asked questions
Can an AI upscaler fix a bad architectural perspective?
No. It can improve apparent detail, but it should not be used to correct a camera or perspective error. Keep the source render and fix geometry in the design tool.
What should I inspect in an architecture result?
Inspect long straight edges, window spacing, thin railings, brick patterns and shadows. Halos or repeated patterns are signs that the source needs another pass.
Is this suitable for construction documents?
No. The result is a visual enhancement for presentations and references, not a measurement source or a replacement for the original CAD/BIM output.